First, go to PicMonkey.
It should look something like this.
Then, click on design and choose the Facebook cover.
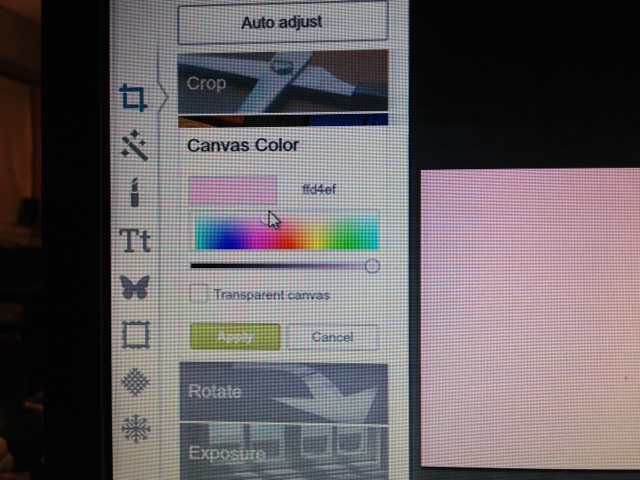
When it loads, choose the color for the background of your signature.
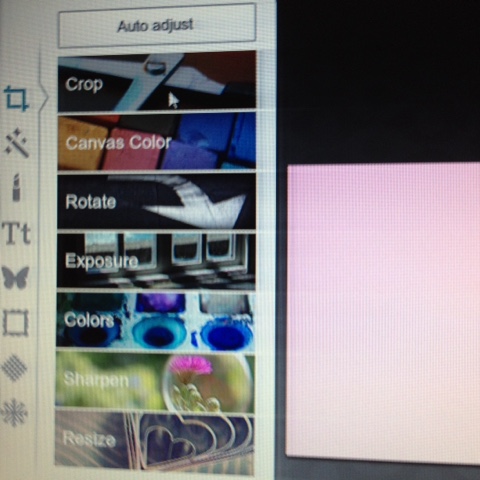
After that, click crop and crop it to the size you want.
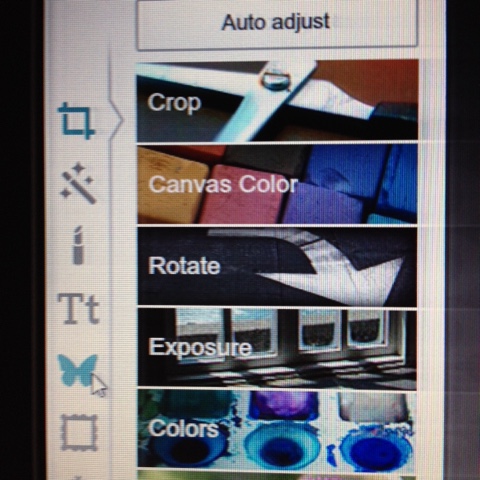
Then, click on the little butterfly.
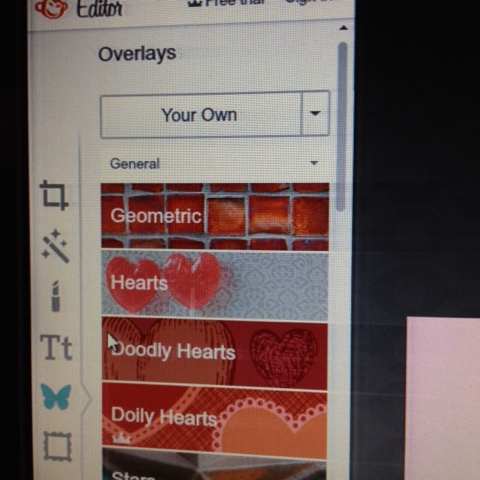
It should pull up overlays.
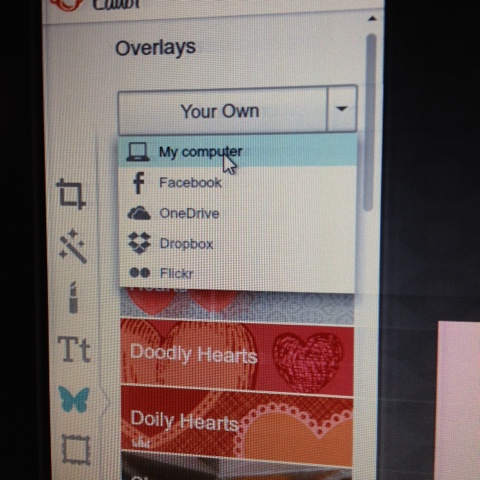
Click on your own, and then click on My computer and choose the picture you want on your signature.
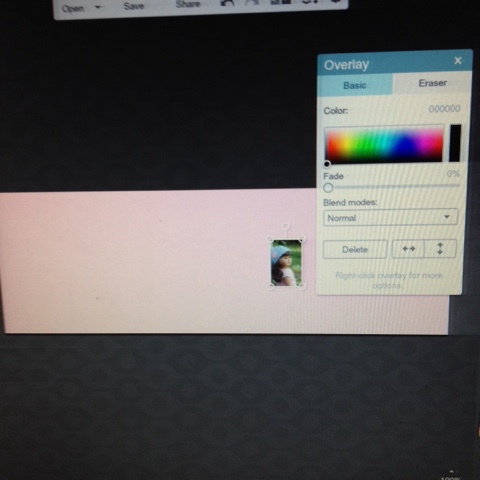
It should now have your tiny picture on it!
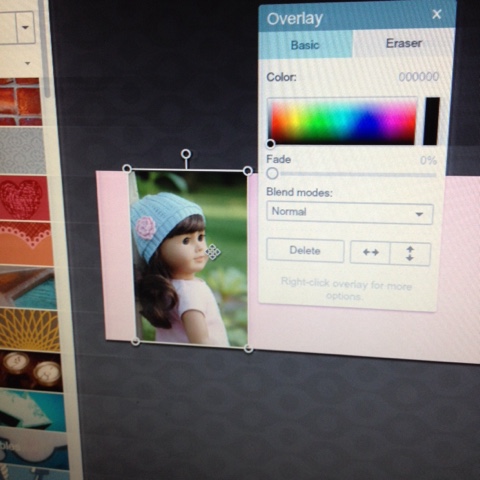
Enlarge the picture...
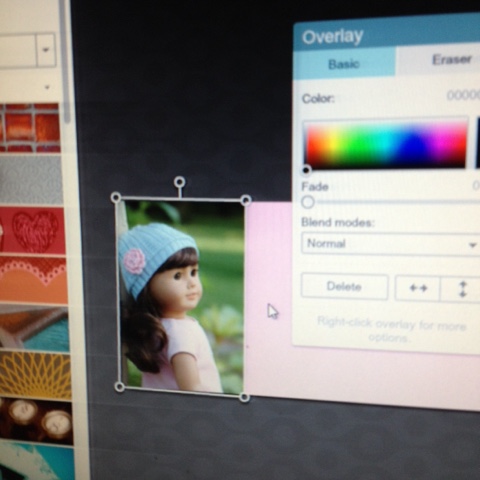
And place it where you want it.
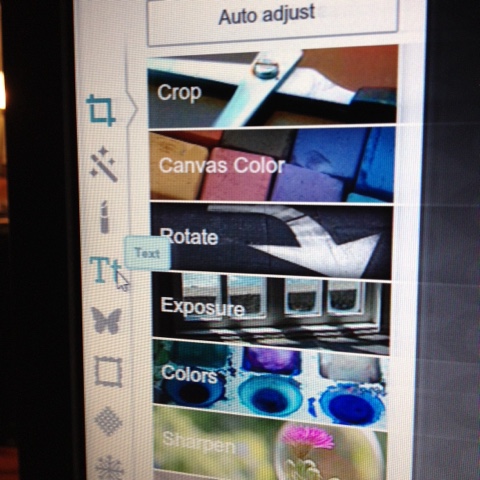
Once it is in place, click on Text.
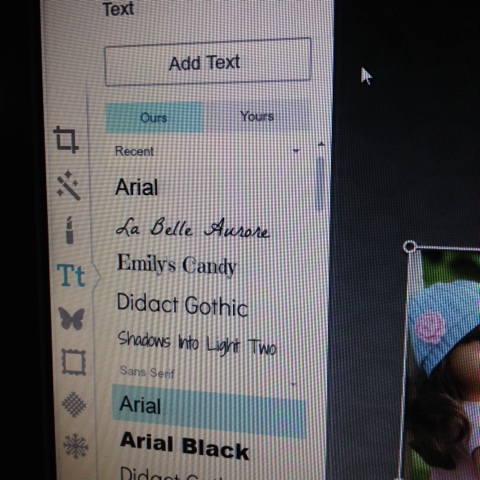
There are a lot of choices, beware! ;)
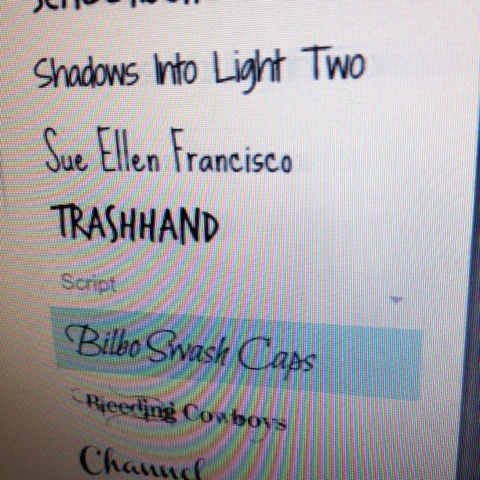
Once you found the one you like, click on it.
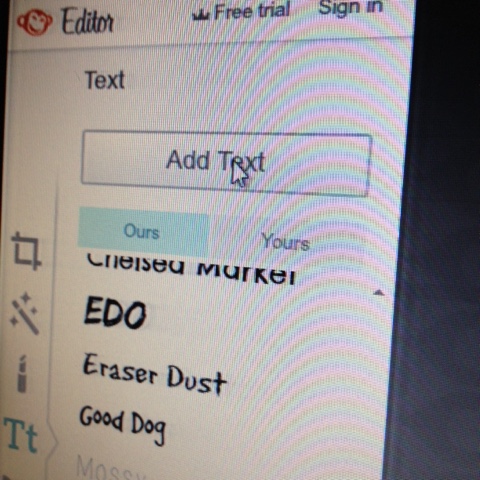
Then go back up to the top and click add text.
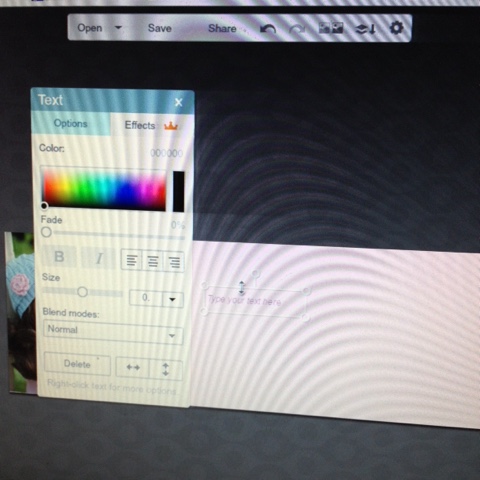
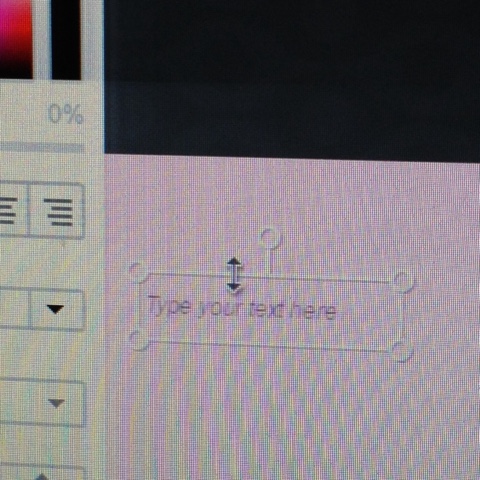
There should be a box. Click on it....
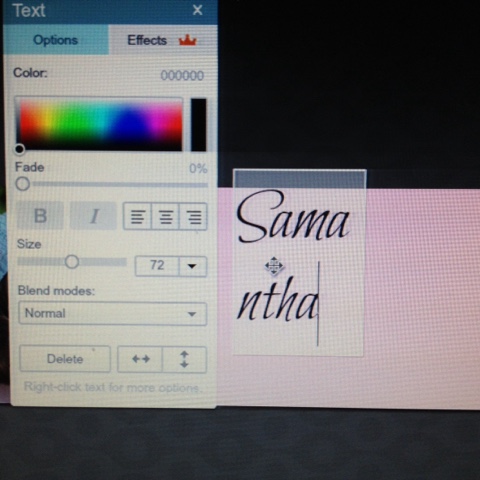
And type your text that you want,
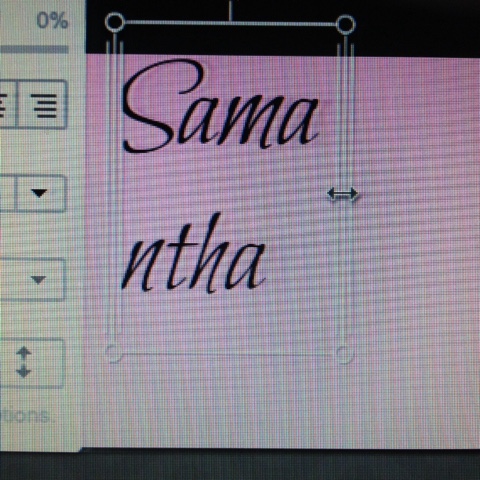
After that, drag the name, that way it is on one line.
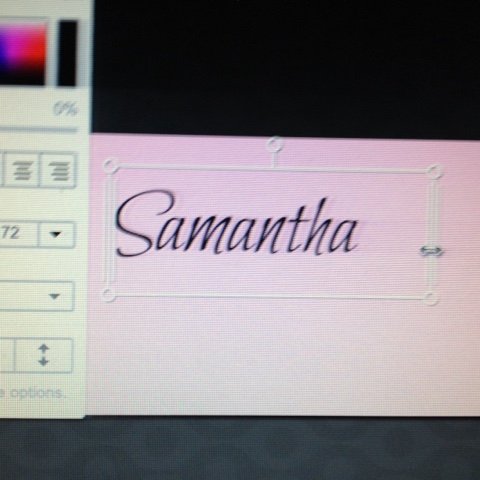
It should look something like this.

Drag the mouse over the name...
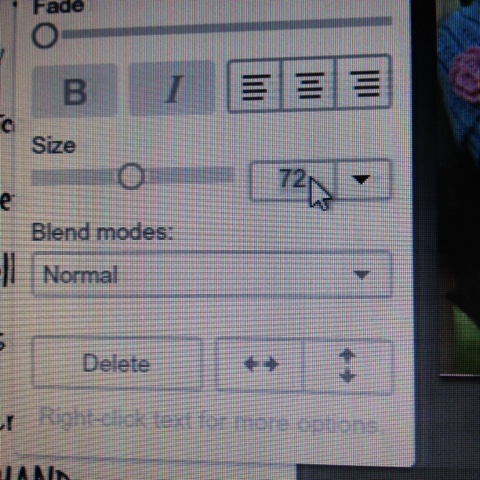
Then make the font bigger!
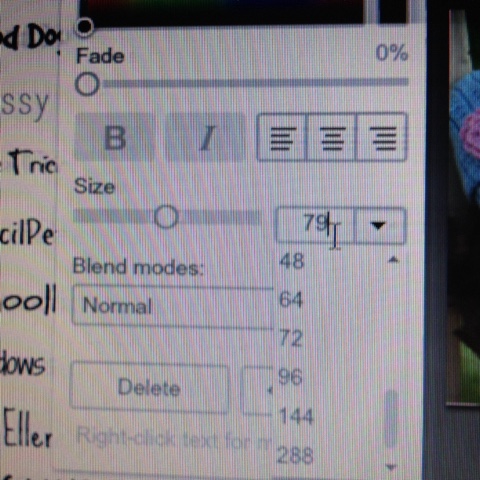
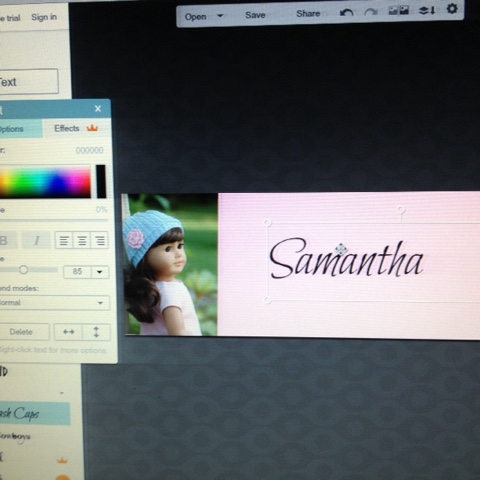
Once you like the size of the font, center the name.

Then click save if you are happy with your signature.
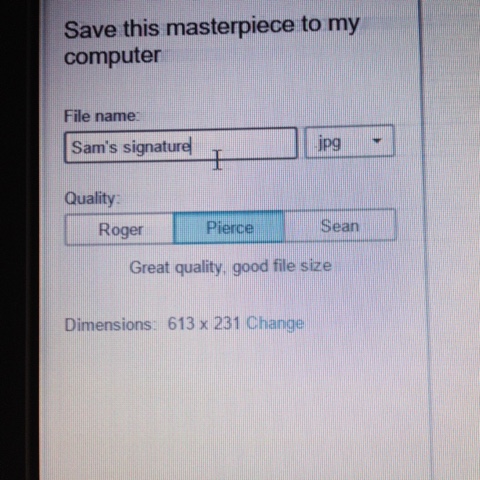
I named the signature Sam's signature, and kept the picture jpg and the quality to Pierce.
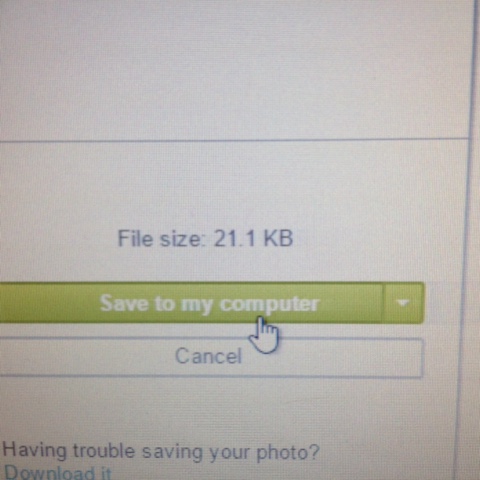
Then click Save to my computer!
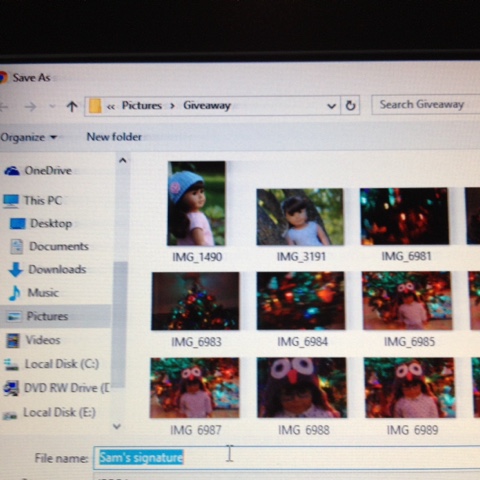
Make sure you remember what folder you saved it to. Here are some examples of the signatures!
There are so many choices on how to design signatures!
Tell me if you design your signature!
Was this tutorial helpful?


I love this tutorial! I hadn't use Picmonkey before, I may have to try it next time. I usually use Google Drawing :)
ReplyDelete- Ellie
http://ontheothersideofrealitynew.blogspot.com
Thank you! I might have to check out Google Drawing! :)
Delete-Katrina-
Thank you! I might have to check out Google Drawing! :)
Delete-Katrina-
Awesome tutorial! I love Katrina's signature. :)
ReplyDeleteThanks!
Delete-Katrina-
Thanks!
Delete-Katrina-